Setting up a Shoppable® Ad Experience page is easy and can be done in as little as 20 minutes and without an engineer.
Setting up a Shoppable® Ad Experience page is easy and can be done in as little as 20 minutes and without an engineer.
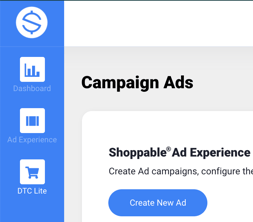
- Login to your Shoppable account. Navigate to 'Ad Experience' from the icon on the left navigation bar
- Click 'Create New Ad' then name your Shoppable ad. Note this name will become part of the ad URL and cannot contain any spaces or special characters.
- Your Ad will be saved in the "Campaigns: Drafts" folder. Locate the ad and click "Edit"
- The Shoppable Ad Builder will open on the right with a preview of your ad on the left. Follow the Ad Builder instructions to upload your creative, add your copy and customize your ad.
- Adding Products: When you get to the product section, if you already have products in your "My Products" page, they will automatically pull into the ad builder. Select the products you want to promote in this ad. If don't have products yet, save your ad and click "leave". Then click on 'Campaigns: Products' in the middle right of the page. Once you add products, return your ad in the Campaign Drafts.
- Once you finish building your ad. Save it and click "Leave"
- Click the Copy Icon and paste your ad link into a new tab in your browser to view your ad. You'll notice a frame around your ad saying "e-commerce is disabled." This is because your ad is in draft mode.

- Publish Your Ad: to publish your ad, click "Publish" from the Campaigns Drafts page. This will activate your ad and move it to the Published Campaigns page.
- Lastly, send an order through to test your experience. Test orders can be tested on checkout using the test card number 4111111111111111.
- Looking to A/B test? Click the "..." on the top right-hand side of your published campaign and then click "Duplicate."
If you prefer to see a visual, watch this video of the setup process:
Looking for specifications and Shoppable® Ad Experience style guide--Click Here?
